1.2.1 Introduction to the SIMetrix/SIMPLIS User Interface
The SIMetrix/SIMPLIS user interface can be configured with general option settings and the menus items and keyboard shortcuts to these menus can be customized by the user. This topic introduces the user interface and how to customize the user interface using the built-in dialogs. In 1.2.2 Customizing the User Interface, you will learn how to customize the user interface using scripts.
In this topic:
What You Will Learn
- How the SIMetrix/SIMPLIS User Interface is constructed
- How to customize the user interface of your SIMetrix/SIMPLIS version
Getting Started
In this topic, you will learn how the user interface is constructed and two ways you can customize the SIMetrix/SIMPLIS user interface:
- by setting global options which configure the program
- by adding keyboard shortcuts to execute menu items
Change the Default Simulator and Enable GUI Property Editing
To get started, you will set some global options that will help with this course material. Many of these options will also help in your day-to-day work with SIMetrix/SIMPLIS. Once set, the global options persist and are used to configure SIMetrix/SIMPLIS every time you use the program.
To edit the global options, follow these steps:
- From the menu bar, select
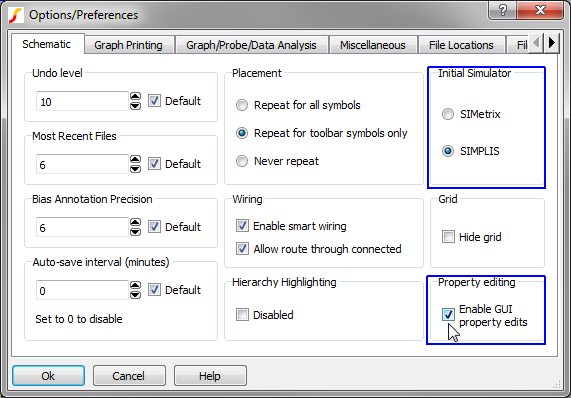
Result: The Options/Preferences Dialog opens to the Schematic Editor tab:

- In the Initial Simulator box on the upper right corner, click the radio
button in front of SIMPLIS. Result: Each new schematic will now use the SIMPLIS simulator. Existing schematics are unaffected.
- In the Property editing box on the lower right, check Enable GUI
property edits. Result: This option allows you to double click on any visible symbol property to edit that property. The Options/Preferences dialog should now look like the following:
- Click Ok to accept the dialog and save the options. Result: The dialog closes, and SIMetrix/SIMPLIS saves your preferences.
Discussion
At this point, you have set some global options to your personal preferences. Next you will learn how menus and keyboard shortcuts are defined and how you can add keyboard shortcuts to existing menu items.
Every menu item and keyboard shortcut is implemented with the SIMetrix/SIMPLIS script language. The menus you see on the different windows are not a permanent part of the program but are created from scratch every time the program starts. This gives you a great deal of flexibility to add new menu items as well as moving or deleting existing menu items.
Keyboard shortcut keys can be assigned using a dialog or a script. In this section you will learn how to edit menus using the dialog method, in section 1.2.2 Customizing the User Interface, you will learn how to use scripts to modify menus and keyboard shortcuts.
Reassigning a Shortcut Key Using the GUI Editor
In this exercise, you will assign the "Ctrl+P" keyboard shortcut to run the menu selection.
- From the SIMetrix/SIMPLIS menu bar, select . Result: The Edit Menu System dialog opens
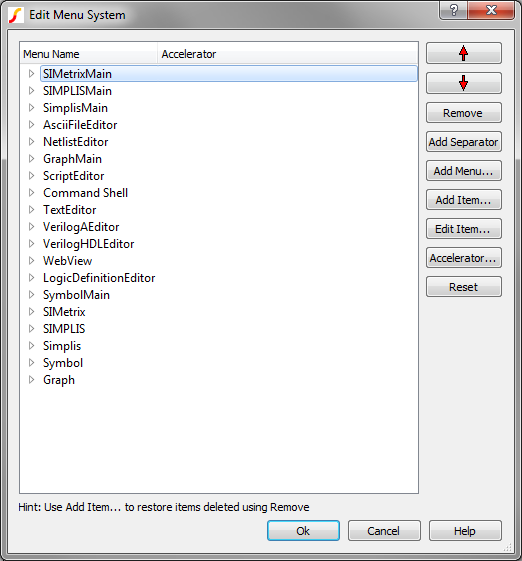
- Double click the SimplisMain item. Result: The SIMPLIS schematic menu items appear, starting with File, then Edit, etc...
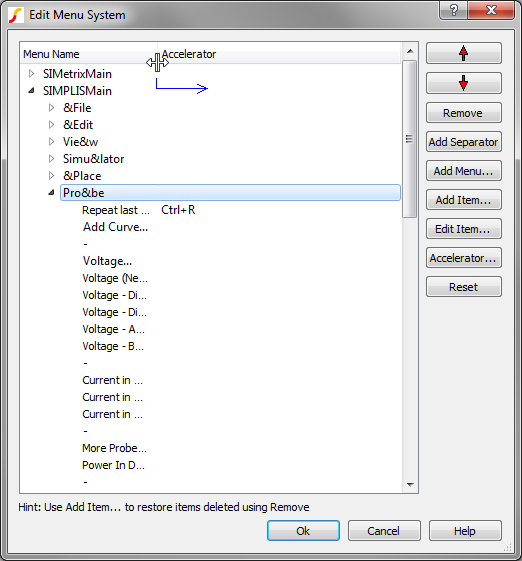
- Double click the Pro&be item.
- Move the mouse to the left of the Accelerator text in the header.Result: The mouse cursor changes to a splitter, indicating that the header can be re-sized.
- Press and hold the left mouse button and drag the splitter to the right so you
can see each entry in the Menu Name column.
- Click on the More Probe Functions... item. Result: The dialog should now look as follows:
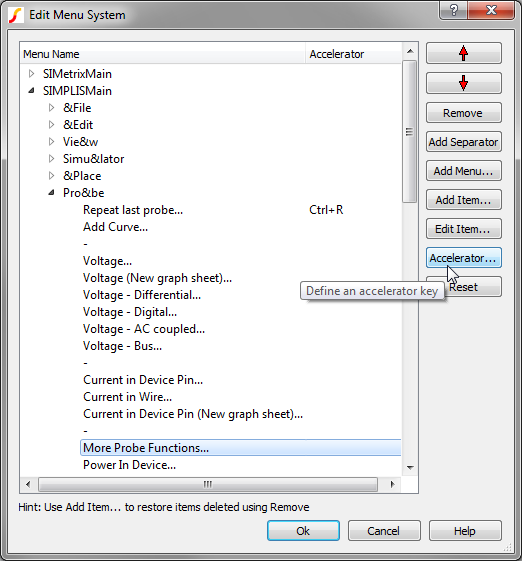
- Click the Accelerator... button. Result: The Rebind Key dialog opens:
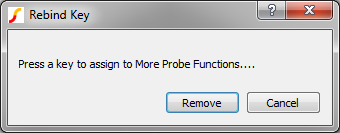
- Press and hold the Ctrl key while pressing the P key. Result: The Warning - binding More Probe Functions... dialog opens:
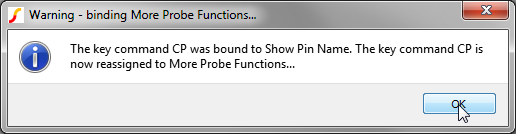
- Click Ok. Result: Your new key binding has been saved.
- Click Ok on the Edit menu System dialog.
To verify the new key binding:
- Open a schematic with the menu bar, .
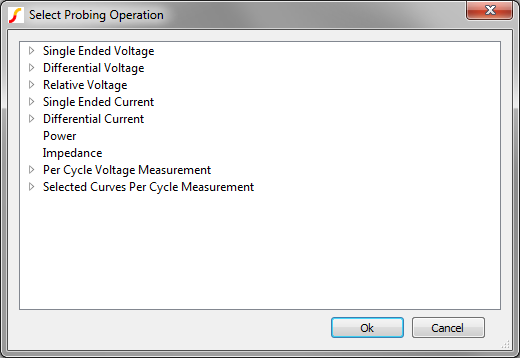
- Press Ctrl+P. Result: The More Probe Functions... dialog opens.
Behind the Scenes
Every menu item or keyboard shortcut executes either a SIMetrix/SIMPLIS script or a simple script command. A script file is a sequence of commands or calls to other scripts. The user interface is built from a set of approximately 900 scripts. Here is a short example using the edit_options.sxscr script:
- Type edit_options into the command line of the SIMetrix/SIMPLIS command
shell.
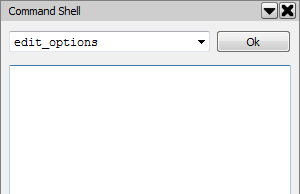
- Press Enter or click Ok. Result: The Options/Preferences dialog opens exactly as if you had selected from the menu bar.
The edit_options script is a built-in script and can be downloaded in another browser window by clicking here.
From a functional point of view, there is no difference between using the menu item, the keyboard shortcut (if there is one) or hand-typing the script name into the command line. These user interface scripts are called Built-In or BiScripts and can be downloaded as a zip archive file from the SIMetrix/SIMPLIS Download Links page.
To download the zip archive, follow these steps:
- Click http://www.simetrix.co.uk/simetrix80/scripts.zip to download the script archive.
- Enter the user name and password you received with your license file.
Conclusions and Key Points to Remember
In this topic, you have used the Edit Menu System dialog to modify the user interface. In the next topic, 1.2.2 Customizing the User Interface, you will download and install a set of scripts specially prepared for this training session. These scripts automate the process of setting keyboard shortcuts and further extend the functionality of the user interface.
- The SIMetrix/SIMPLIS user Interface can be easily customized.
- Keyboard shortcuts are easily modified with the Edit Menu System dialog, or a script file.
- Menu items can easily be added, moved, or deleted.
- It's not magic - the user interface is constructed from scripts which are available for you to view or modify for your purposes.