Getting Started
To get started on the training course, you need to complete these two steps:
- Download and extract the zip archive containing the example files.
- Change the help source from Internet to Local. If you are viewing this material outside the training course, this is not required.
In this topic:
Downloading and Extracting the Example Files
To download the examples for all training modules,
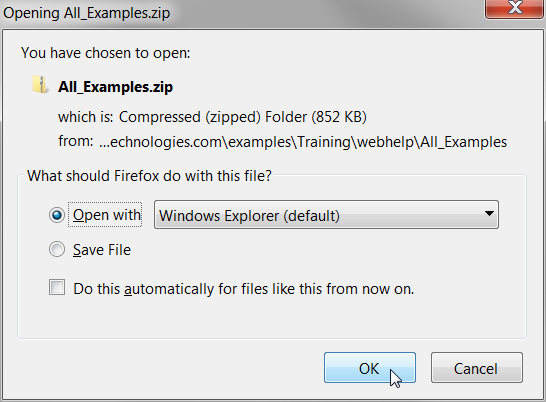
- Click on All_Examples.zip.
- On the resulting dialog, select Open with Windows Explorer.
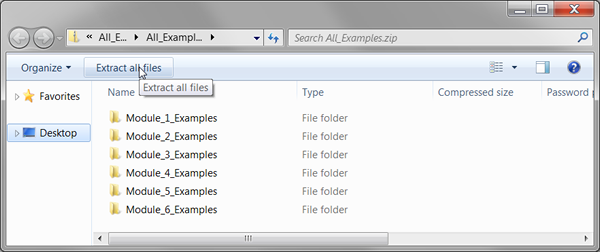
- On the Explorer window, select Extract all files.
 Extract the files to C:\Training
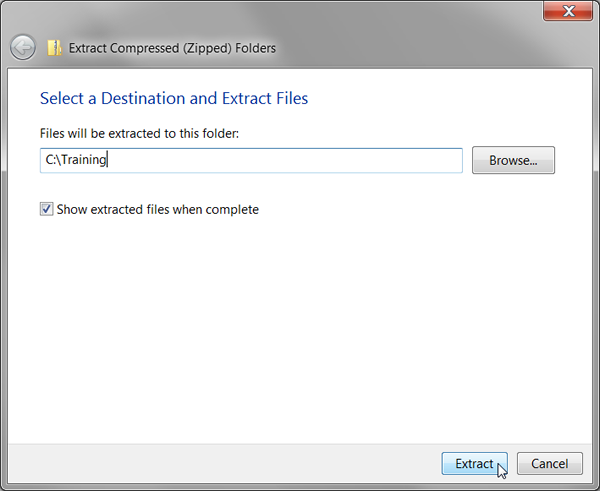 Result: The individual schematic files will be located in directories specific to the module, such as C:\Training\Module_1_Examples\.
Selecting Local Help Source
During the course exercises, you will access the application help source. If you are
attending the training class in person, your computer will be connected to our local
intranet, and will not be able to access the broader internet to access the help system.
In this section you will learn how to change your preferred help source from the
internet to local help. To change your help source from internet to local help, follow
these steps:
- From the menu bar, select Result: The Select Help Source dialog opens. Your current help source is selected.
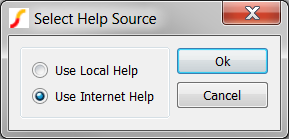
- Select the Use Local Help radio button and click Ok.Result: The Installing Help dialog opens:
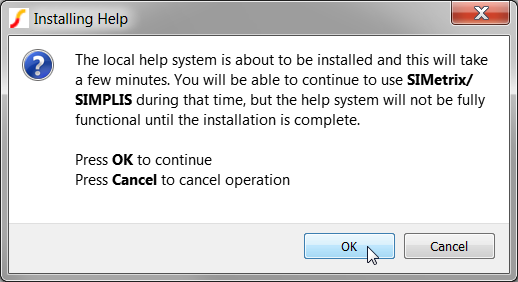
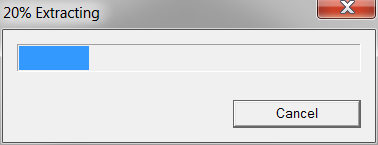
- Click OK.Result: SIMetrix/SIMPLIS installs the help system locally. This involves extracting a zip archive to your computer, which may take a few minutes. The next time you access the help system, a local file will be opened in your web browser. While the archive is extracting a window will be open indicating the extraction progress.
After the extraction window closes the local help system is available to use. You can test this by running the menu .
Change the Default Simulator and Enable GUI Property Editing
To get started, you will set some global options that will help with this course material. Many of these options will also help in your day-to-day work with SIMetrix/SIMPLIS. Once set, the global options persist and are defined to configure SIMetrix/SIMPLIS every time you use the program.
To edit the global options, follow these steps:
- From the menu bar, select . Result: The Options/Preferences Dialog opens to the Schematic Editor tab:
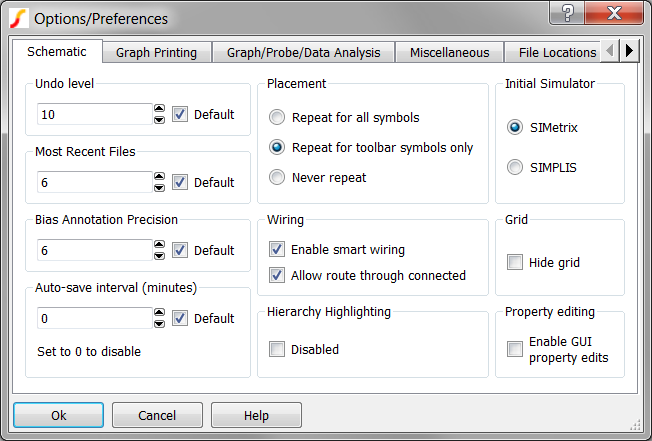
- In the Initial Simulator box in the upper right corner, click the radio button in
front of SIMPLIS. Result: Each new schematic will now use the SIMPLIS simulator. Existing schematics are unaffected.
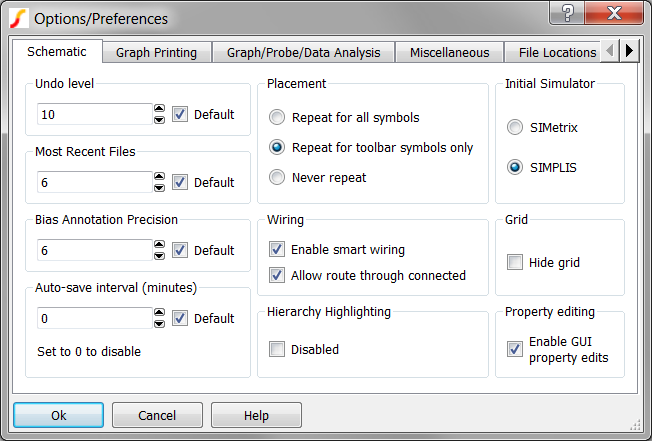
- In the Property editing box on the lower right, check Enable GUI property
edits. Result: This option allows you to double click on any visible symbol property to edit that property. The Options/Preferences dialog should now look like the following:
- Click Ok to accept the dialog and save the options. Result: The dialog closes, and SIMetrix/SIMPLIS saves your preferences.